Feeling inspired by my garden sprouting into life, I decided to use some stashed modelling clay to mark out which herb is which on my kitchen windowsill. This has been mostly guesswork.. so lets hope I got the names right!
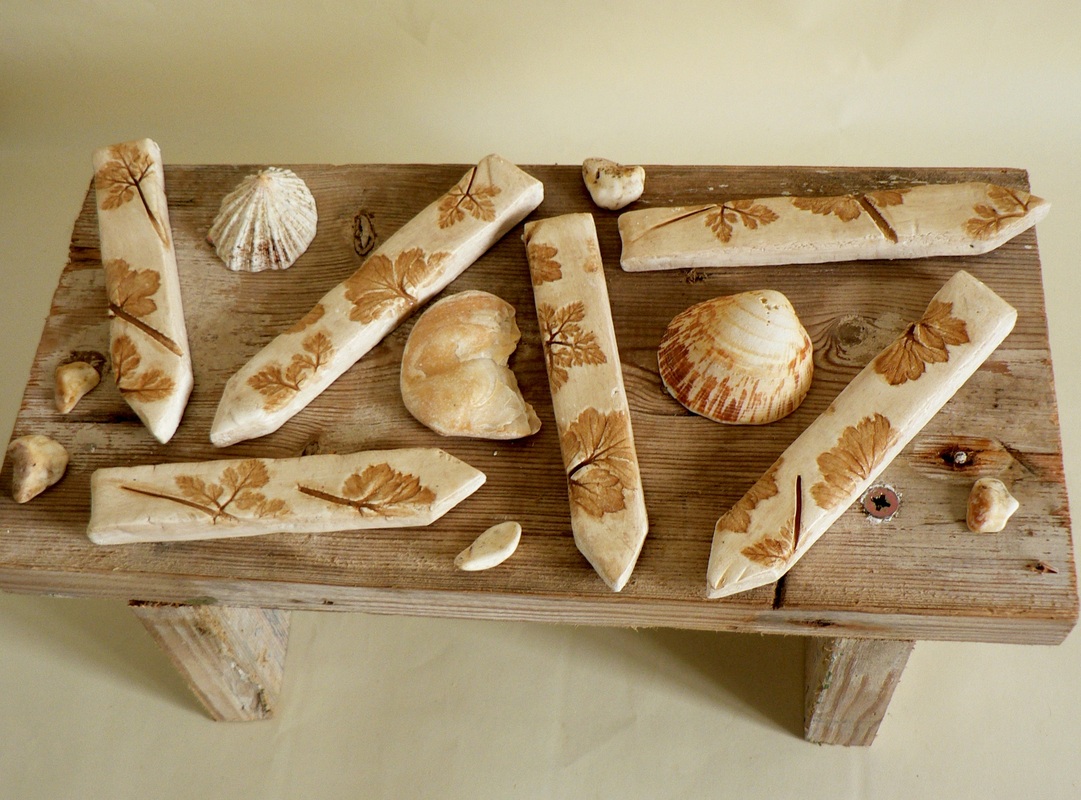
I ended up with some beautiful markers which I'm very proud of, using clay, a teabag, PVA glue, and a lot of patience!
I ended up with some beautiful markers which I'm very proud of, using clay, a teabag, PVA glue, and a lot of patience!
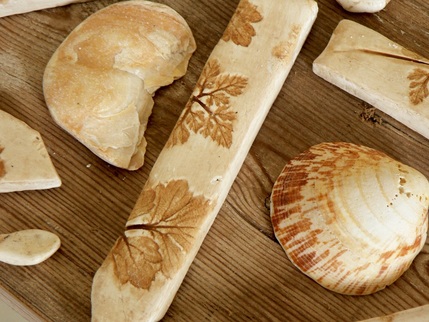
| Step 0: Try out a bunch of different techniques and ideas.. you can see here I was aiming for a natural aged effect for the markers. Experimentation taught me two key things: 1) Thin clay snaps quickly 2) Water down your colours to enable you to wipe away excess completely. 3) If you are aiming for an old effect, acrylic is NOT the medium to use. | 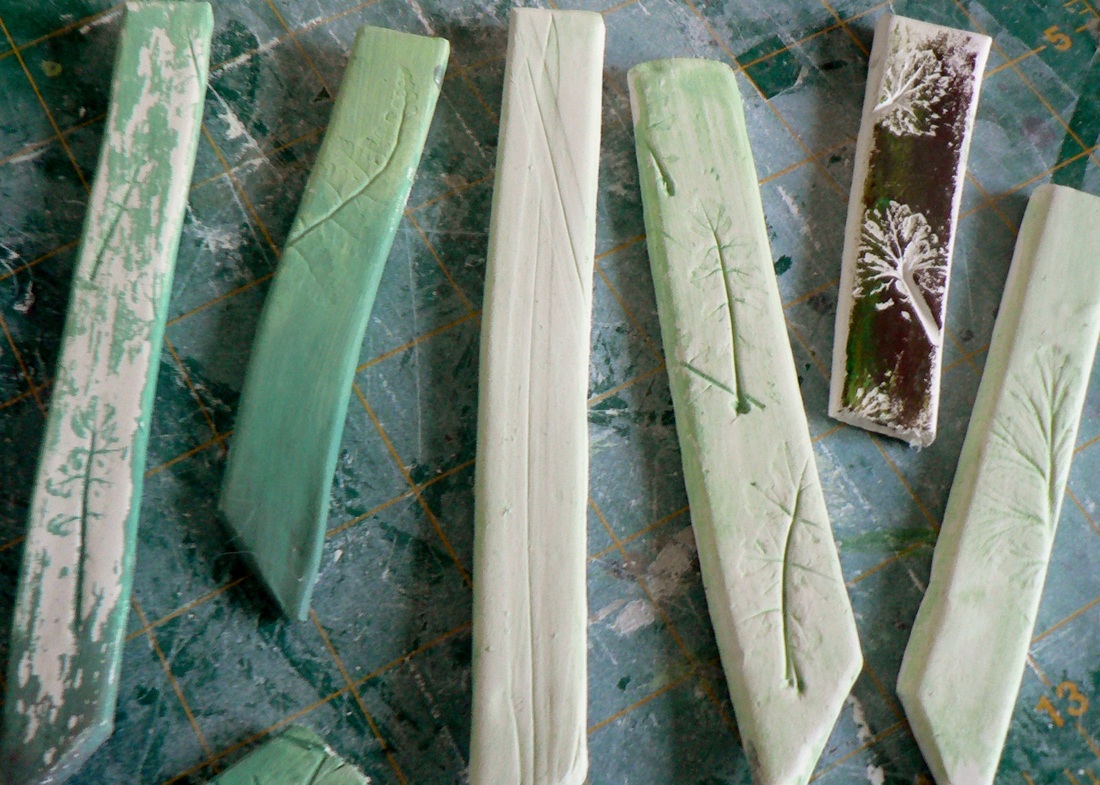
|
I decided to wing it with thicker markers, intricate leaves, and to stain my markers using concentrated tea.
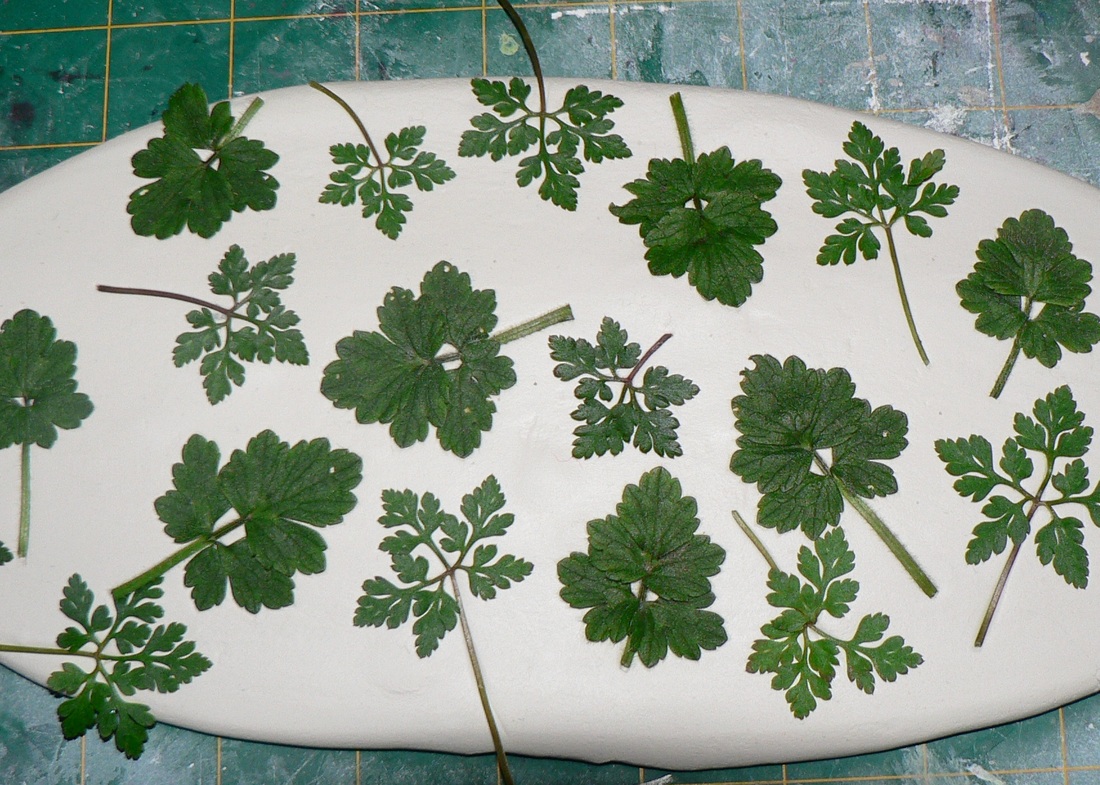
Step 1: Roll the clay out much thicker than you want it. Place fresh leaves onto the clay and roll again to press them into the surface
| 
Step 2: Cut the clay using a ruler into the basic size you want. Carefully remove the leaves.
|
Step 3: Leave to dry. Do not touch for 24 hours. Also - leave on a smooth surface, or the backs will become imprinted too.
Step 4: Smooth off the rough sides very gently - the clay will still be a bit moist at this point. I used an old scalpel blade.
Step 5: After a further 24 hours you are ready to paint the markers. Boil water and soak a teabag in a little water - just enough to paint the markers. I went all over the markers once, and then concentrated painting tea into just the imprints for another 4-5 times.
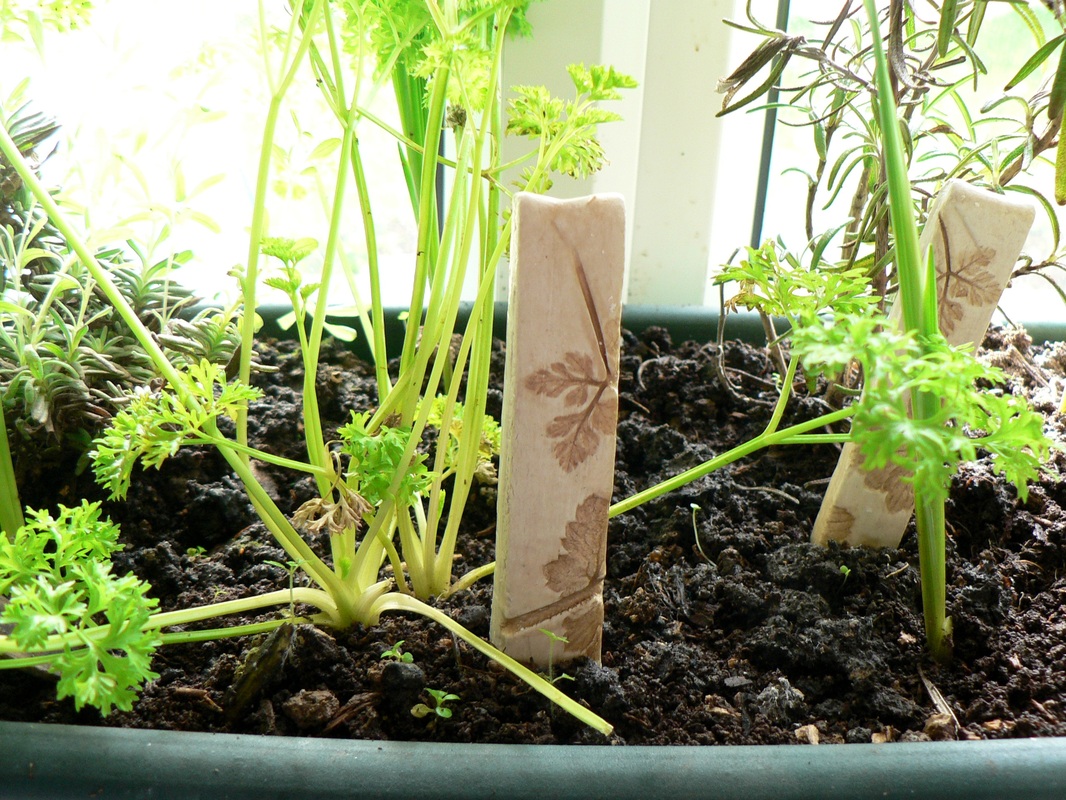
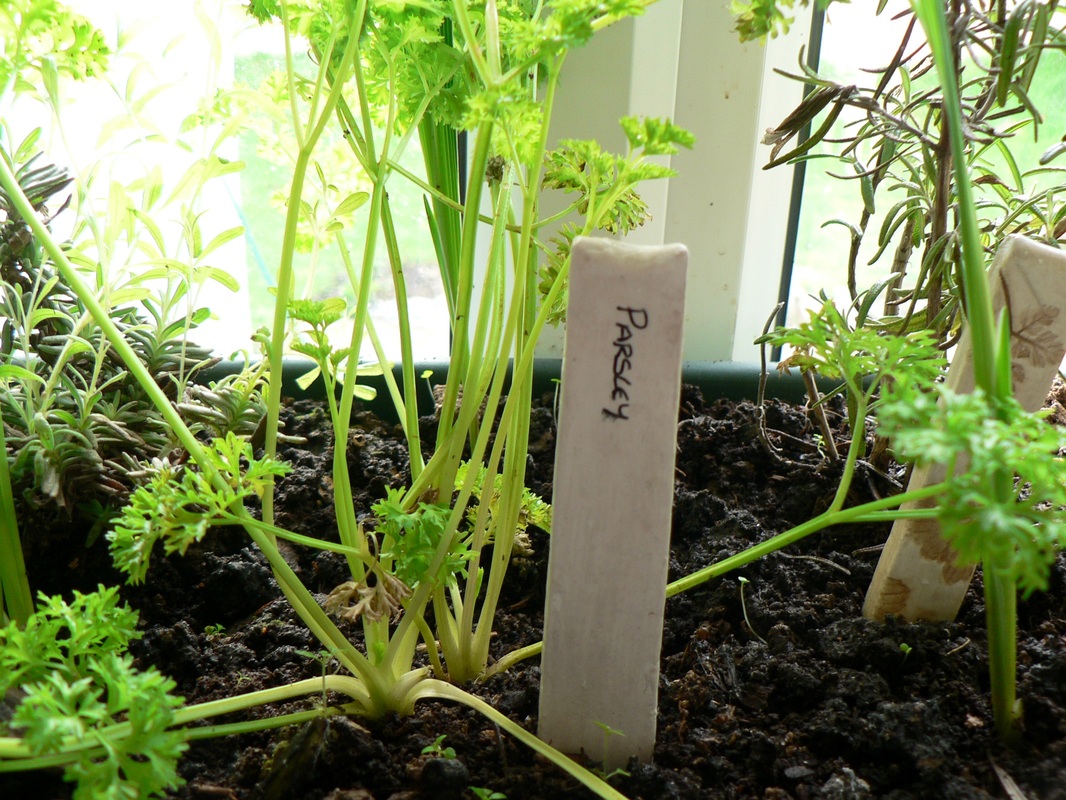
Step 6: You guessed it, wait another day. The markers will be dry now, and can be painted with PVA glue or varnish to seal them. I then wrote the names of my plants on the back - here is Parsley's marker in action
Step 4: Smooth off the rough sides very gently - the clay will still be a bit moist at this point. I used an old scalpel blade.
Step 5: After a further 24 hours you are ready to paint the markers. Boil water and soak a teabag in a little water - just enough to paint the markers. I went all over the markers once, and then concentrated painting tea into just the imprints for another 4-5 times.
Step 6: You guessed it, wait another day. The markers will be dry now, and can be painted with PVA glue or varnish to seal them. I then wrote the names of my plants on the back - here is Parsley's marker in action
| 
|
And that's all there is to it!
 RSS Feed