I've been distracted away from the internet...
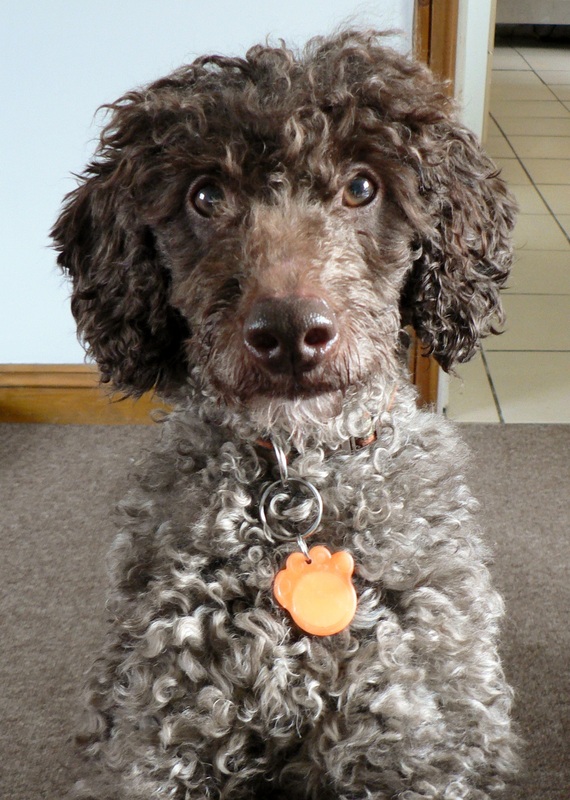
Except to look up anything vaguely poodle, dog training, dog separation anxiety, and rescue dog advice related. Ain't he cute?! He's called Whisky and he's all ours :D Don't you love his monkey eyes? His paw pads are soooo soft, and his hair smells beautiful.
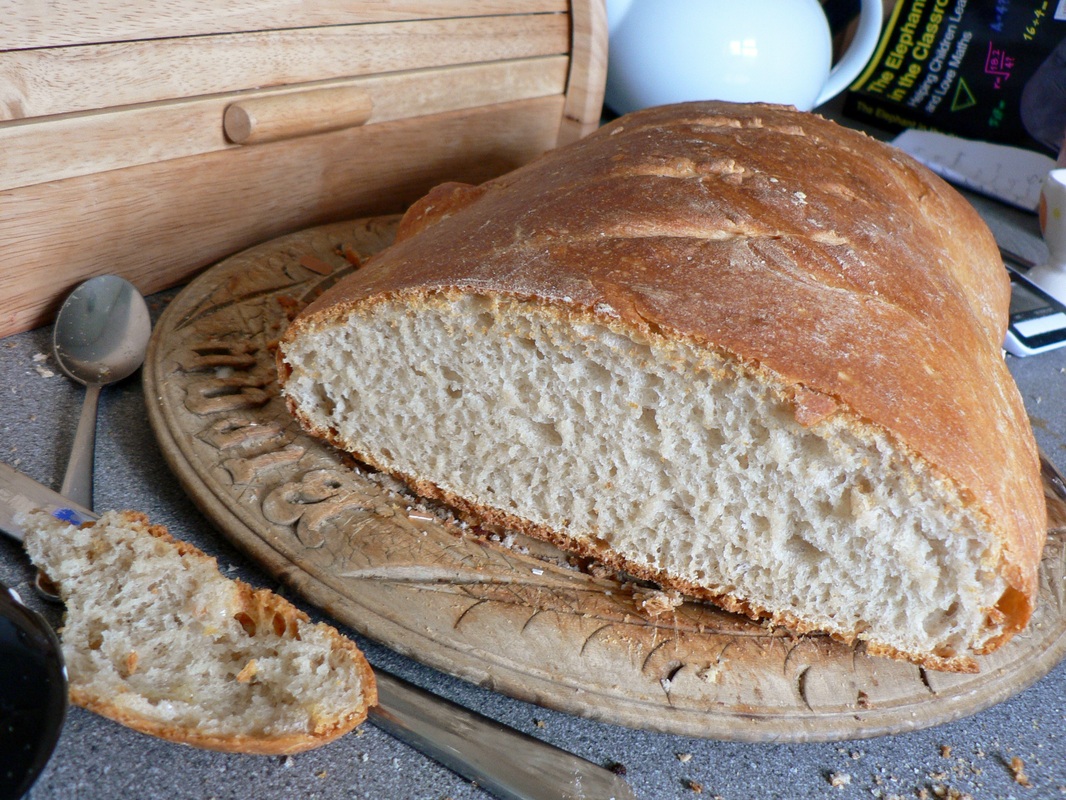
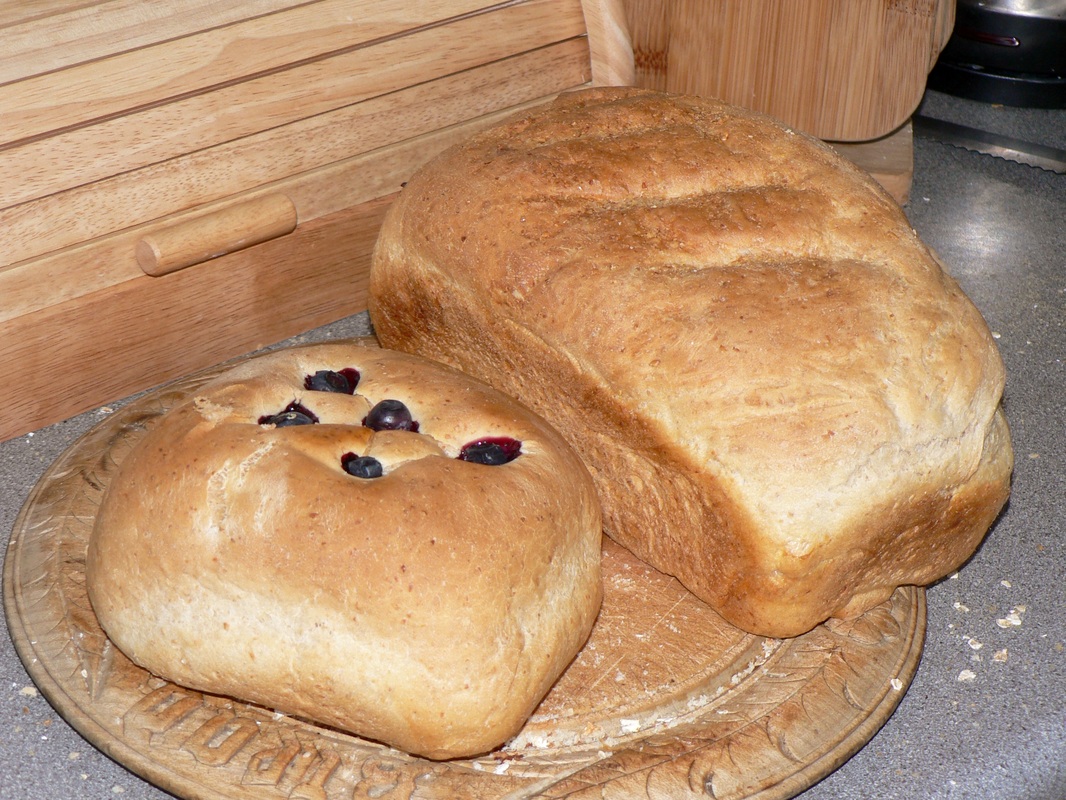
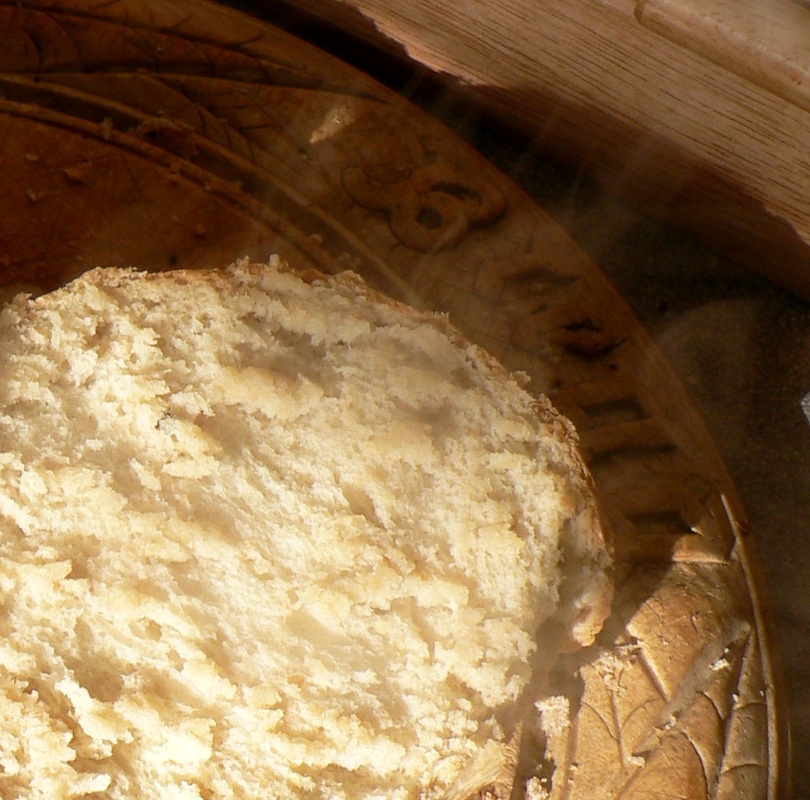
I did find some time to have another go at making a sourdough loaf, and it went great! I'm SO HAPPY with the holes in this one, it's held it's shape really well, and the crust is incredibly crusty! I've been reading up and it turns out sourdough starters are incredibly temperamental, so I just gave it it's own time. The first rise happened overnight, and we had bread for lunch.
One last thing, make sure you check out my new ATC page on the website. It's got loads of pics of little Artist Trading Cards I've made and received from crafters around the world.
Just a quick post featuring some of my favourite recent photos - enjoy
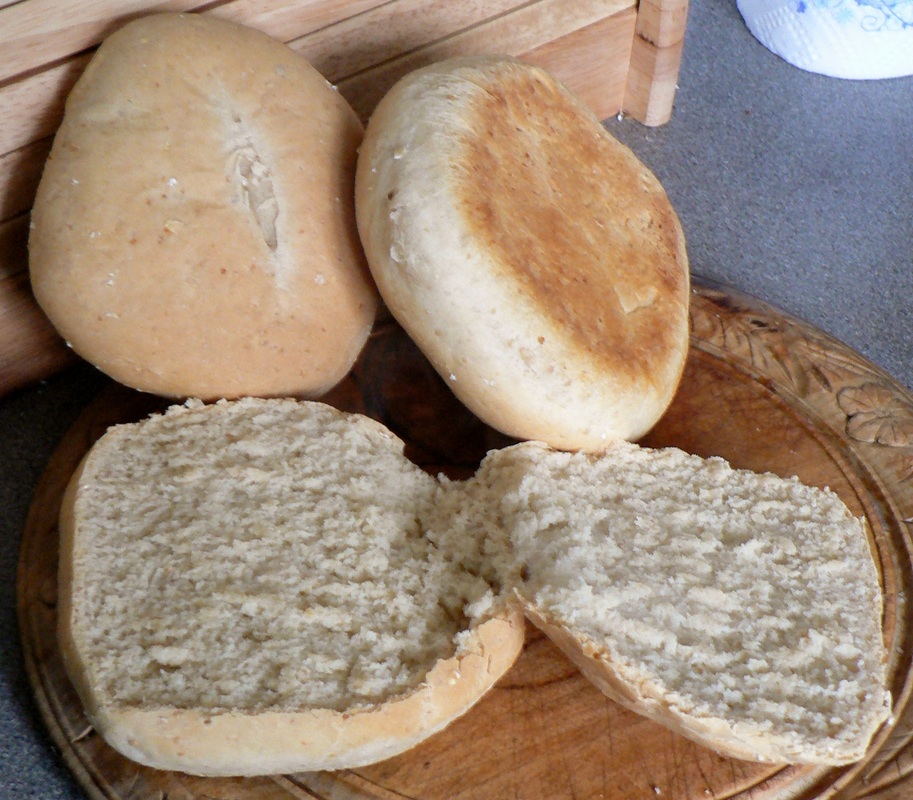
| | My second time making bread - and it went much better. A shallow tray of water at the bottom of the oven seems to help with reducing burn. |
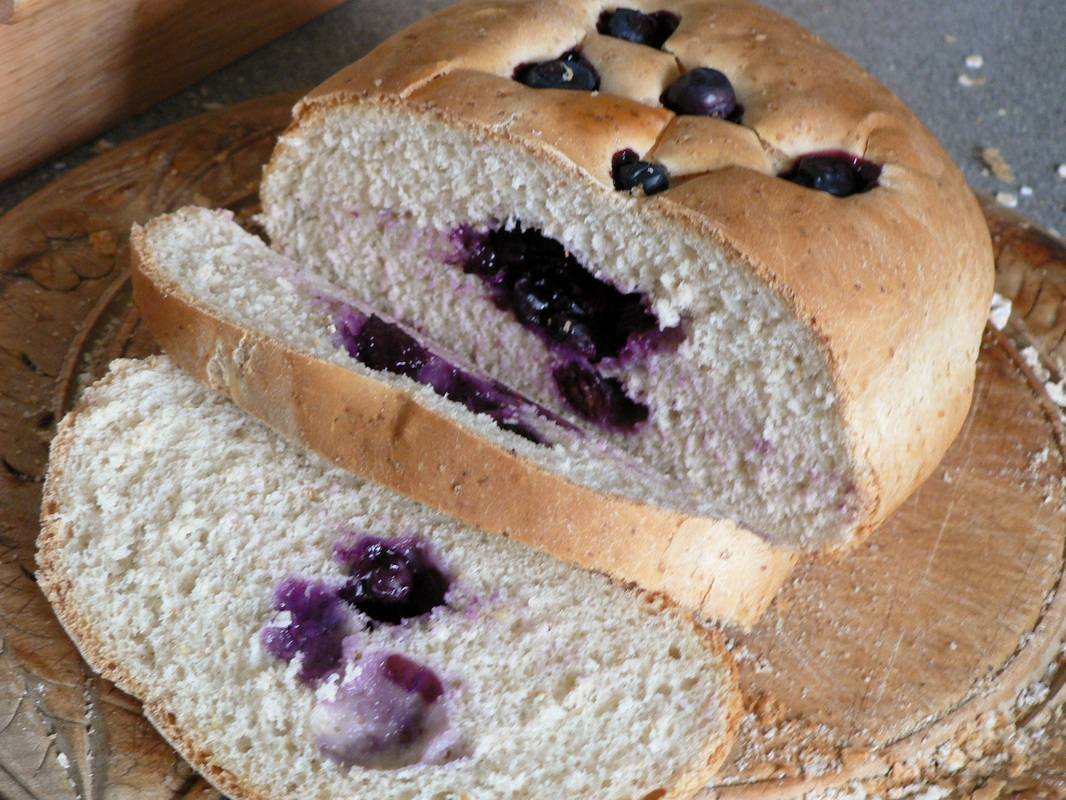
Then my third time I also tried putting some blueberries in one roll - but they all seem to have found their way into the middle! Next time I will put all the dough into the one loaf.
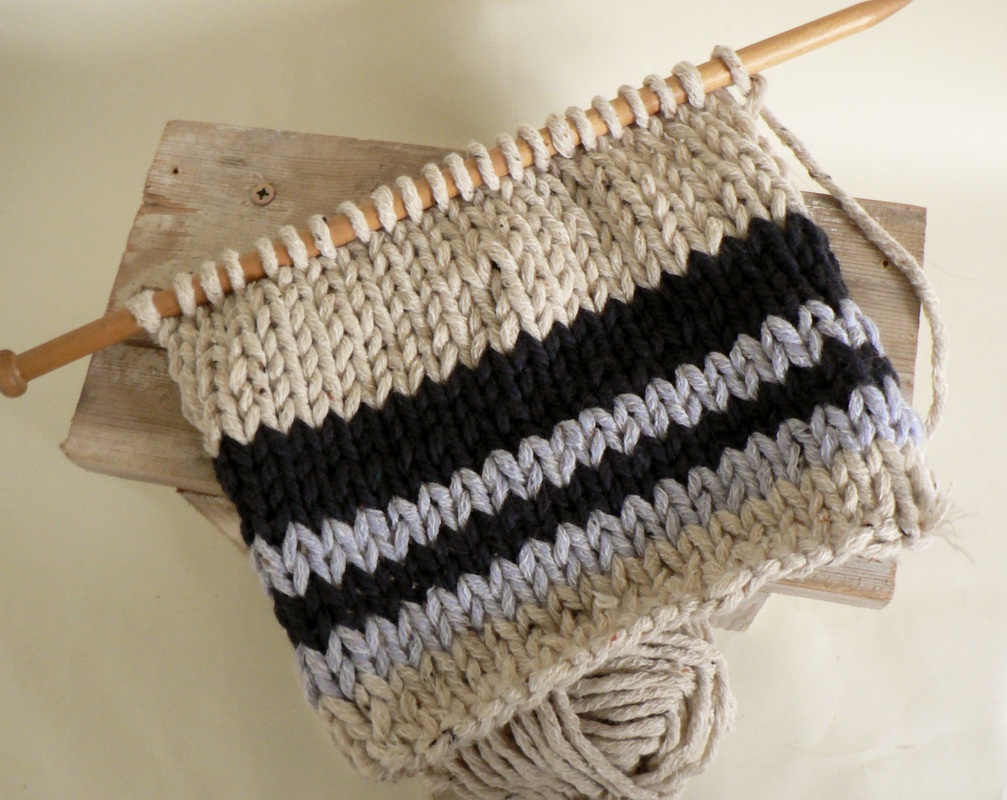
I can now purl, which is brightening up this so far dark and windy February. Of course, mild weather has it's perks... I'm sure...someone help me here... but nothing says "Wake up, it's time to enjoy life!" like a brilliant blue sky.
Learning purl has already started opening my eyes to more pattern ideas, for example I could knit-purl for a weekday and then knit-knit for a weekend - creating a much easier to read diary of the year. Something to consider for next year perhaps!
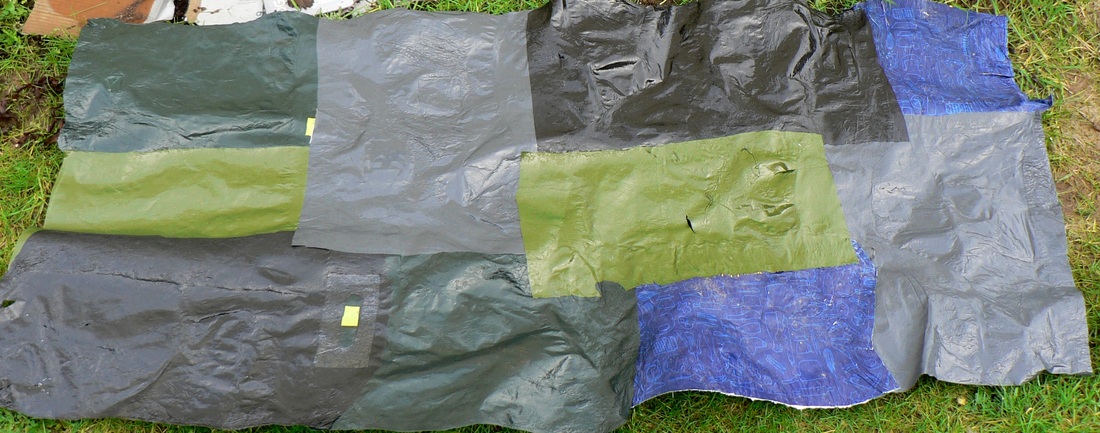
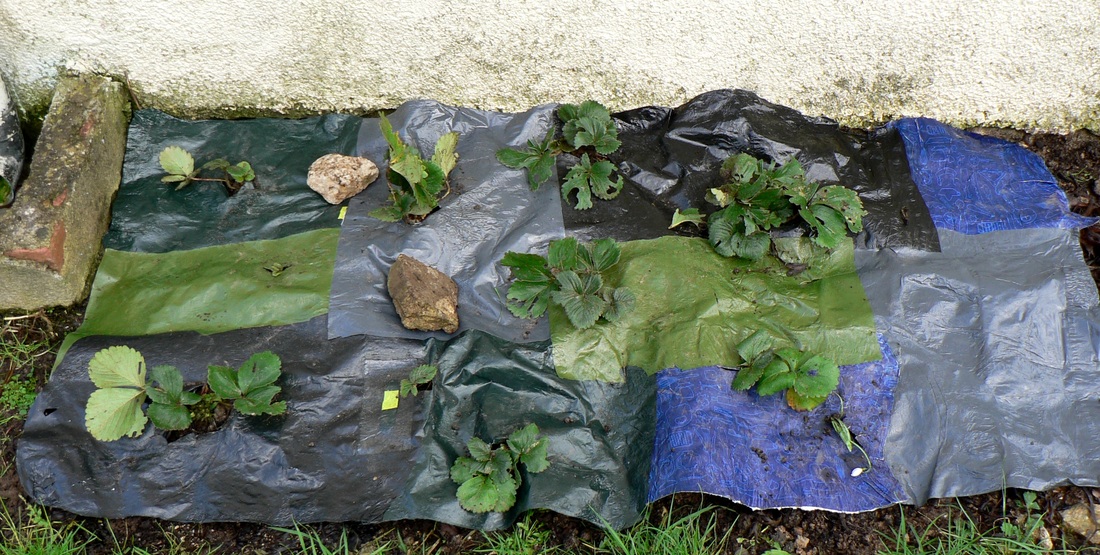
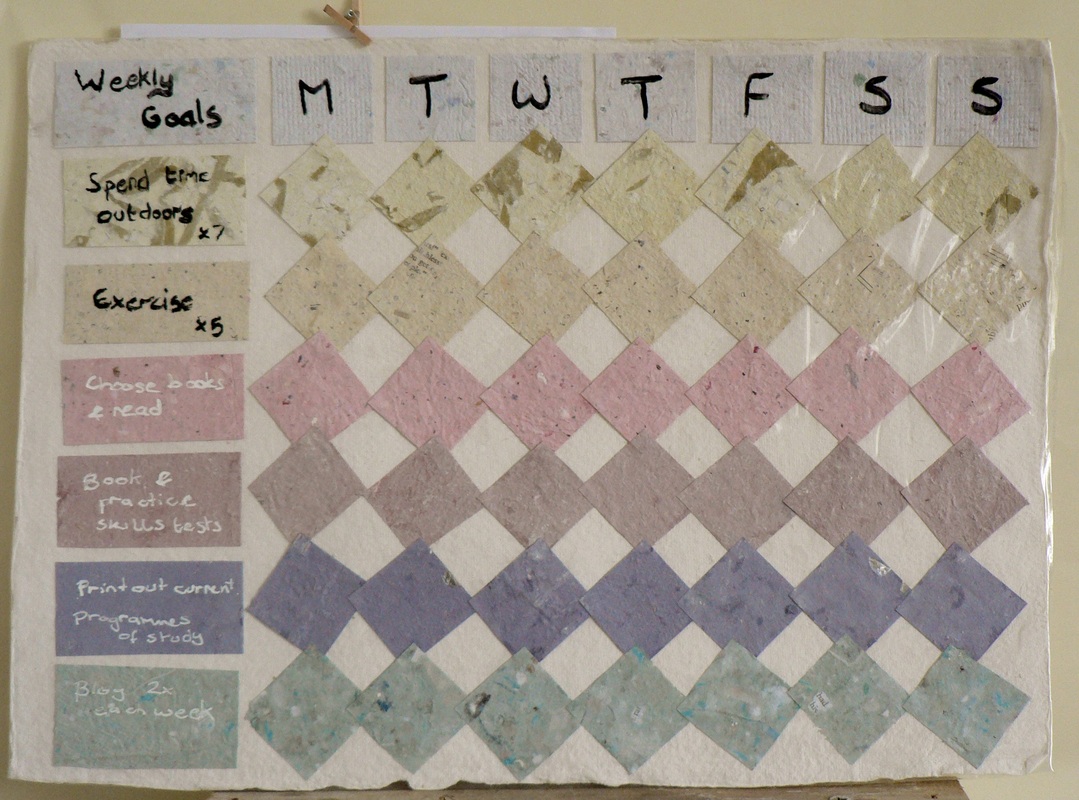
Putting some of my handmade paper to good use in a re-useable goals check list. I'm using eye liner and tipex because dry wipe markers are notoriously smeary, and wet-wipe have disappeared from the shops.
I'm really happy with this project, it allows me to look at my handmade papers every day as well as stay on track with my goals over the next six months, as I prepare for teacher training.
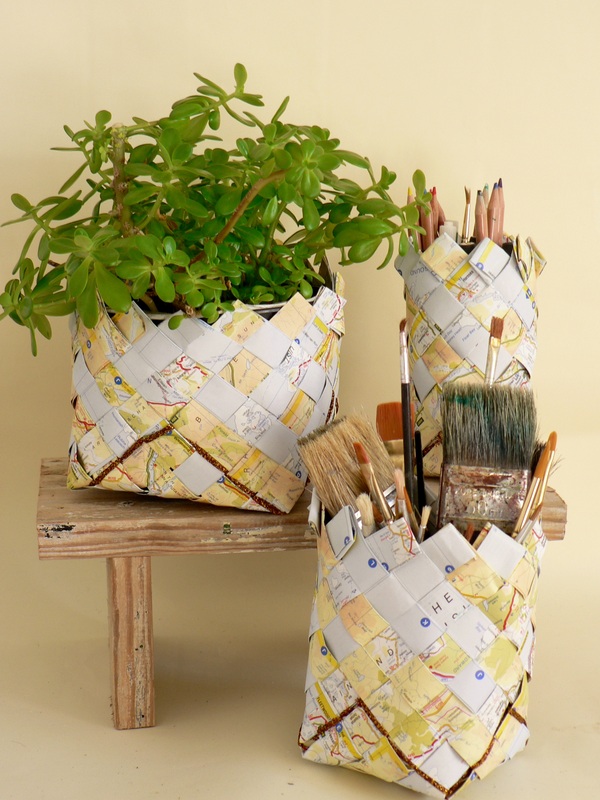
A quick photo tutorial for anyone looking to recycle some tin cans - word of advice, simple acrylic spray paint like the Montana range worked much better than the acrylic spray specifically designed for metal - beware!
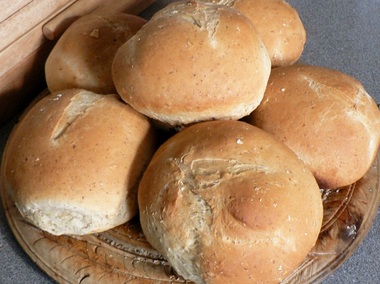
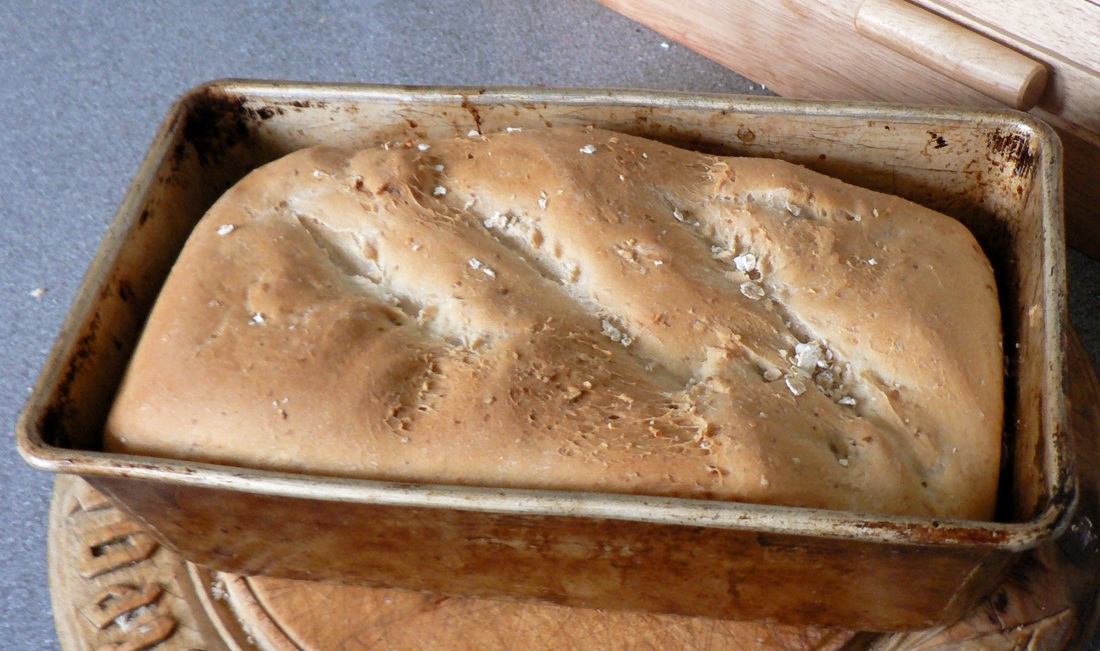
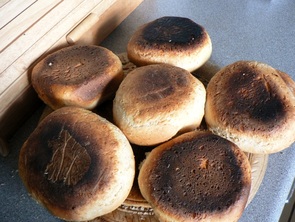
Today I baked my first ever bread rolls after being inspired by a friend.
The recipe called for 650g of strong white flour, I used 620g strong white flour, 20g milled linseed and 10g rolled oats to add a bit of wholesome flavour. I used sunflower oil, but next time I'll try melting butter instead.
I'm really happy with how these have come out - they are more than edible!
Just watch out for the burnt parchment paper on the base... any advice anyone?
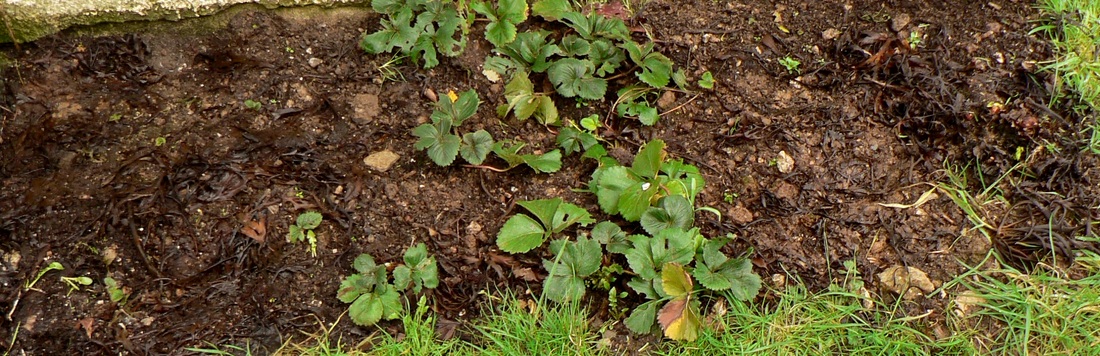
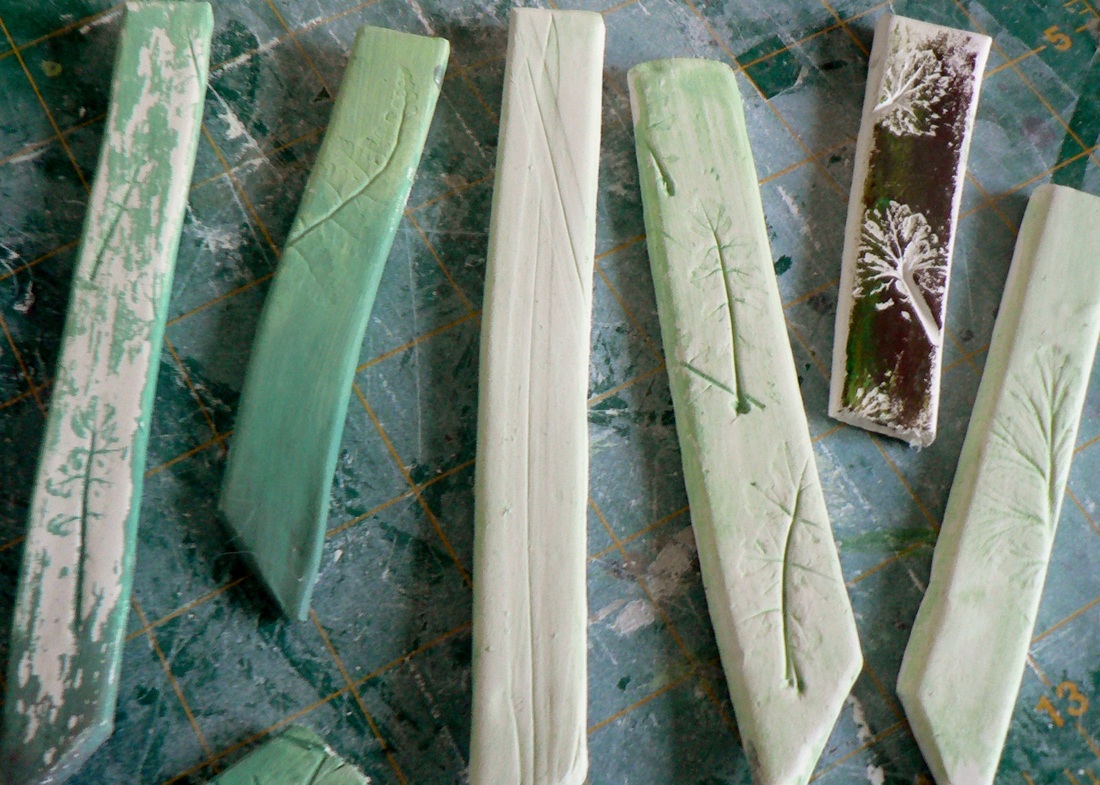
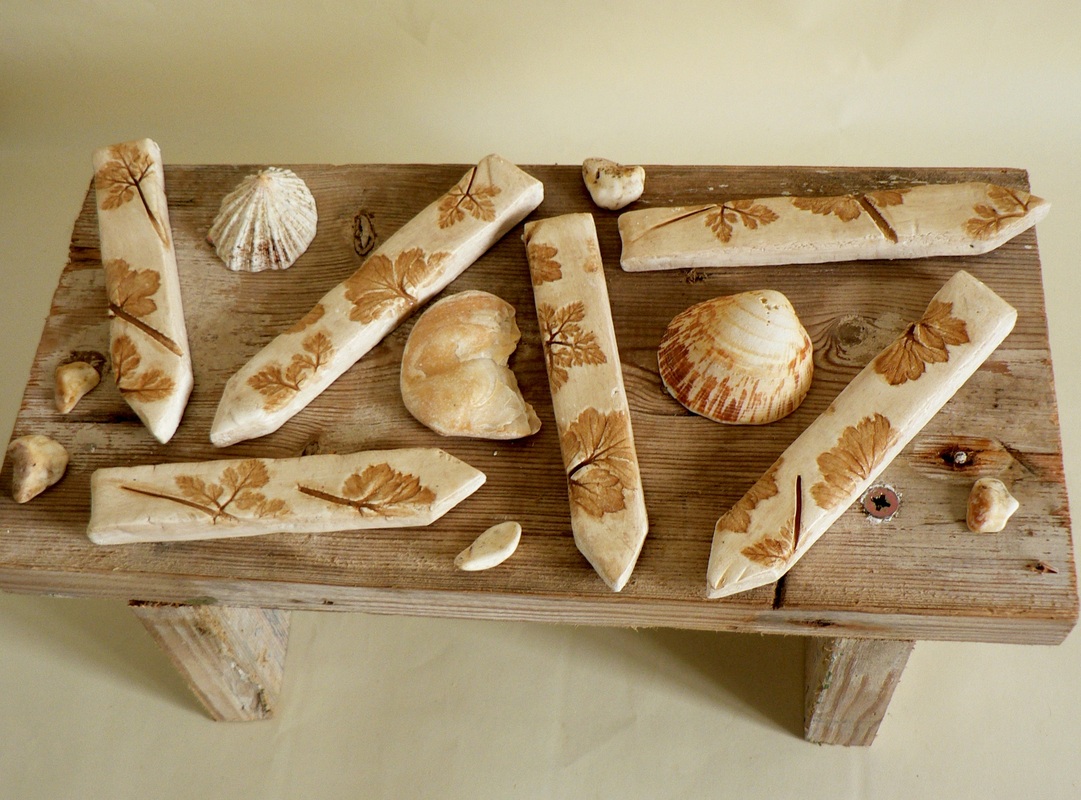
Feeling inspired by my garden sprouting into life, I decided to use some stashed modelling clay to mark out which herb is which on my kitchen windowsill. This has been mostly guesswork.. so lets hope I got the names right!
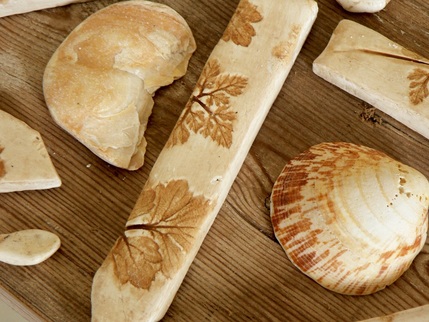
I ended up with some beautiful markers which I'm very proud of, using clay, a teabag, PVA glue, and a lot of patience!
| Step 0: Try out a bunch of different techniques and ideas.. you can see here I was aiming for a natural aged effect for the markers. Experimentation taught me two key things:
1) Thin clay snaps quickly
2) Water down your colours to enable you to wipe away excess completely.
3) If you are aiming for an old effect, acrylic is NOT the medium to use.
| |
I decided to wing it with thicker markers, intricate leaves, and to stain my markers using concentrated tea.
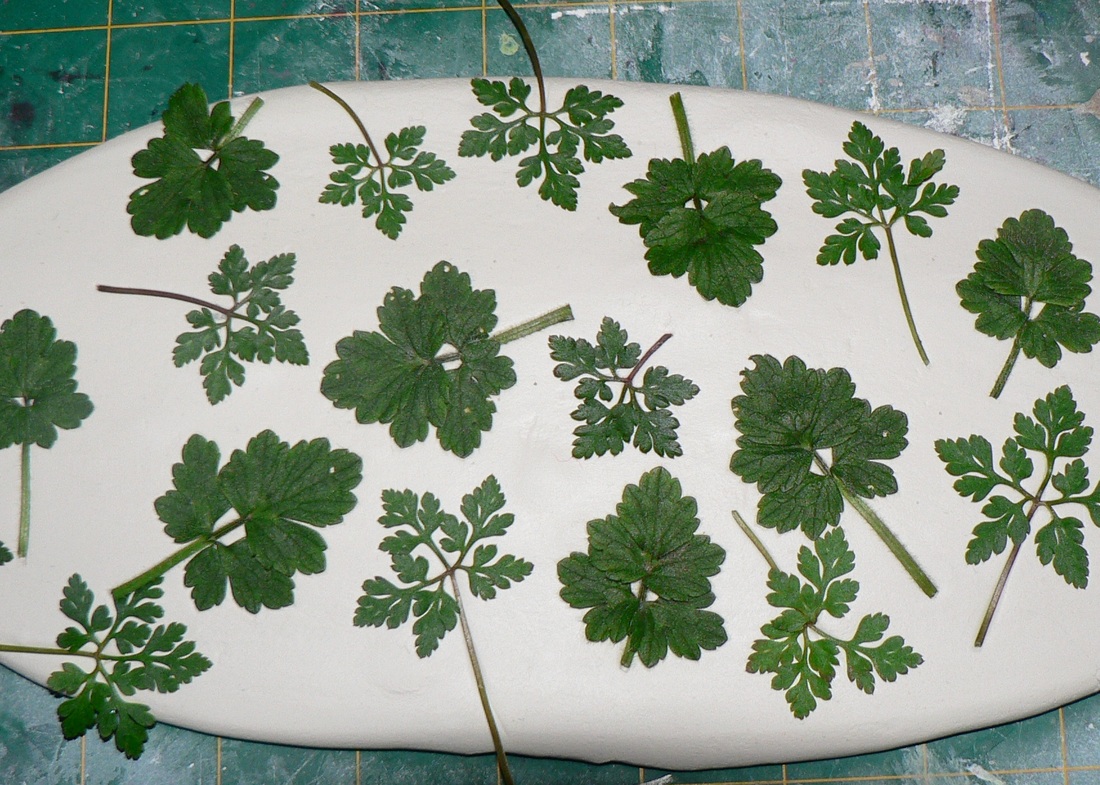
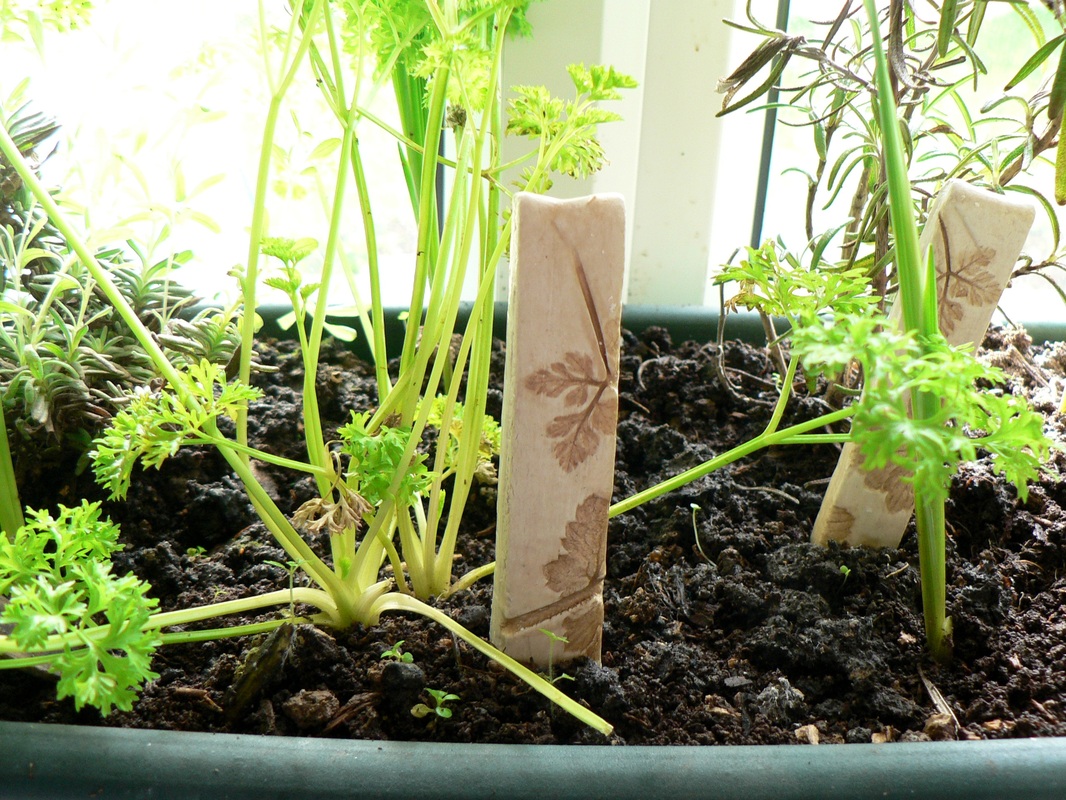
Step 1: Roll the clay out much thicker than you want it. Place fresh leaves onto the clay and roll again to press them into the surface
|

Step 2: Cut the clay using a ruler into the basic size you want. Carefully remove the leaves.
|
Step 3: Leave to dry. Do not touch for 24 hours. Also - leave on a smooth surface, or the backs will become imprinted too.
Step 4: Smooth off the rough sides very gently - the clay will still be a bit moist at this point. I used an old scalpel blade.
Step 5: After a further 24 hours you are ready to paint the markers. Boil water and soak a teabag in a little water - just enough to paint the markers. I went all over the markers once, and then concentrated painting tea into just the imprints for another 4-5 times.
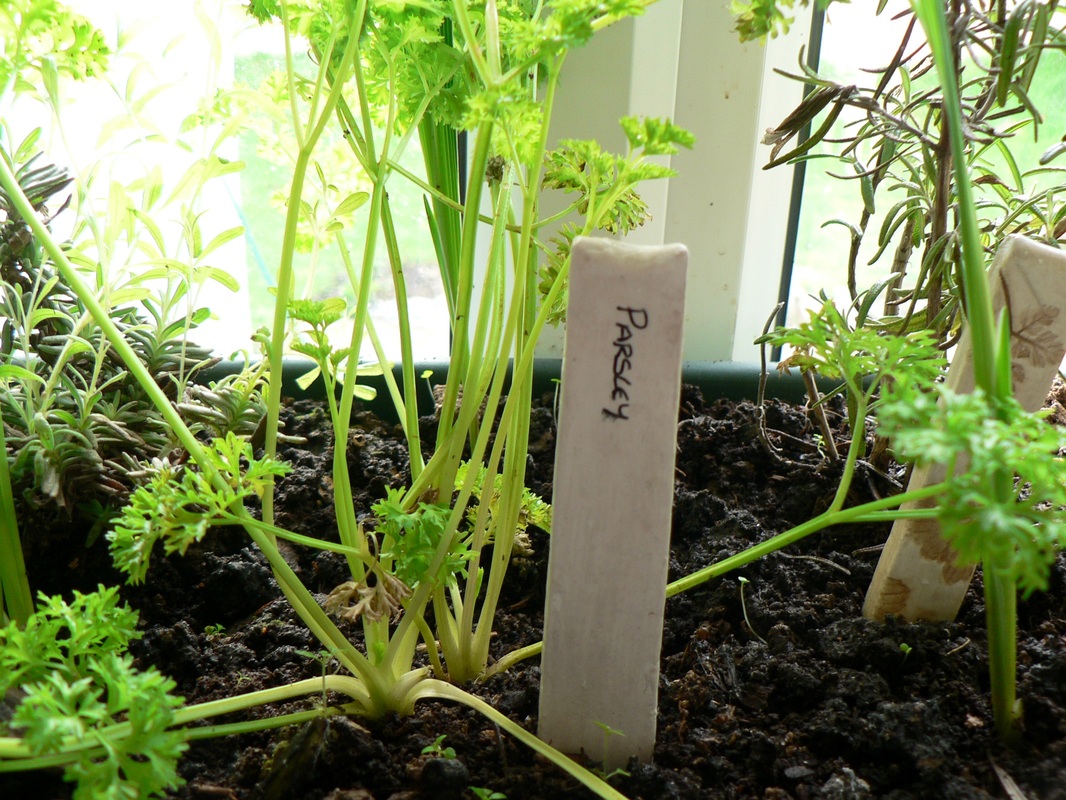
Step 6: You guessed it, wait another day. The markers will be dry now, and can be painted with PVA glue or varnish to seal them. I then wrote the names of my plants on the back - here is Parsley's marker in action
And that's all there is to it!
 RSS Feed