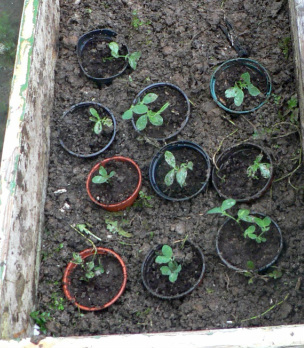
Our unseasonal sun and incredibly heavy rain has started coaxing my garden back to life.. here's a round up of my veggy patch at the end of Jan. Over the next year I'm also planning to grow beans, courgettes, a couple of tomato plants and plenty of broccoli.
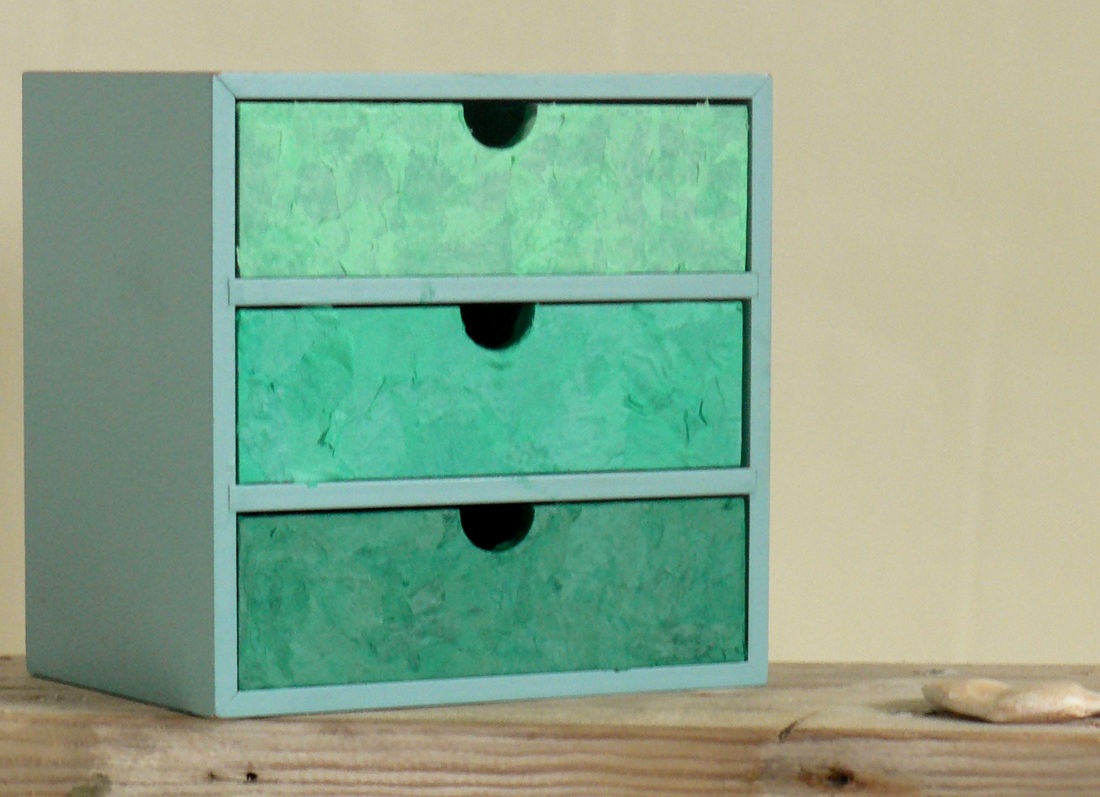 Having loved the textured frame I made a couple of weeks ago, I went ahead with decoupaging the drawers I had got from a charity shop a while back. I'll put them to good use filled with embellishments for my craft work - ribbons, threads, stamps and buttons :)
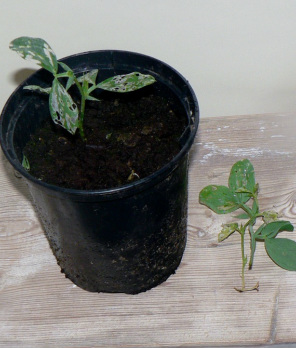
P.S. The numbering of my crafts may seem a little haphazard, if you haven't seen my post on craftster, which is what they refer to. 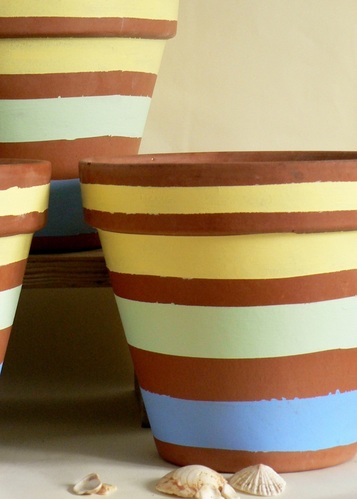 I've been feeling really under the weather so picked a quick craft to cheer me up! I masking taped up stripes on 3 terracotta pots, and used old wall paint to brighten them.. I wasn't too concerned with a perfect finish, since nothing seems to last too long in the garden! These will be planted up in March with my sweet pea seedlings, which I have just cut back to encourage growth; especially important since they aren't looking too healthy. I've also taken some advice from my Reader's Digest "Gardening Year" and moved my cold frame onto the soil. This way I was able to "plunge pots up to their rims in peat" - well, almost! Do you have any more ideas for how to liven up my peas?
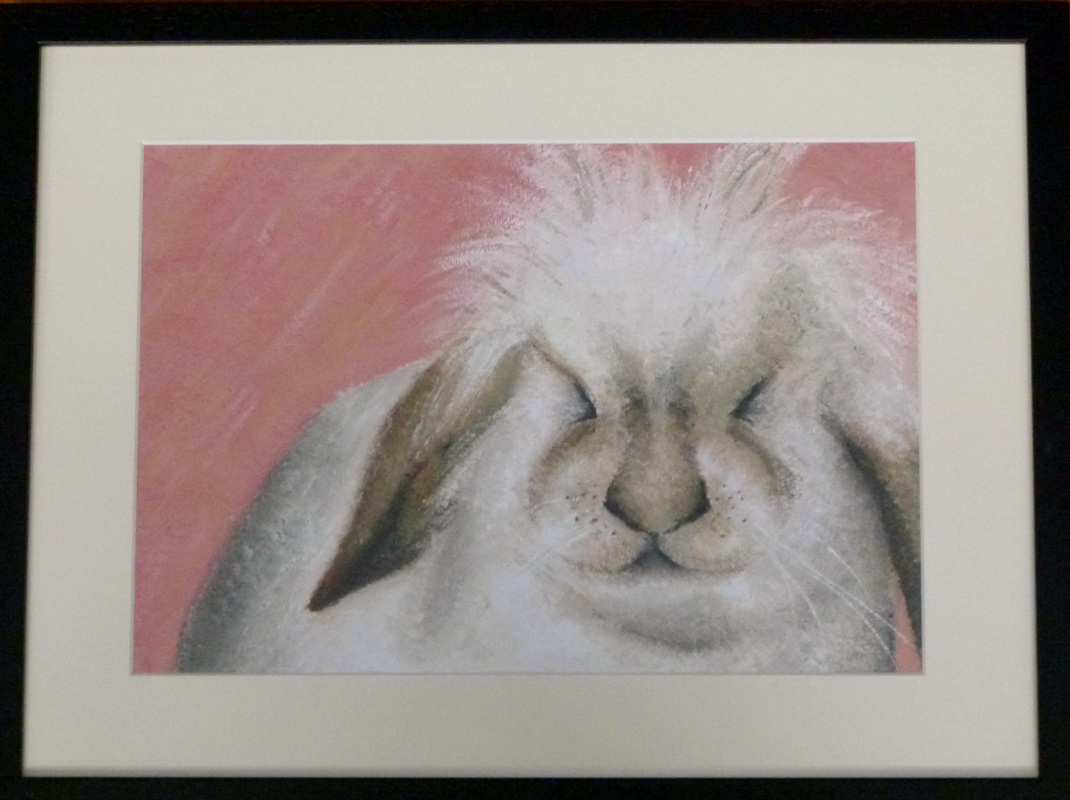
When a culvert was built in 1825 between the sea and the fresh water lake at swanpool to lower its water level a unique landscape and habitat was created. The sun was shining and I headed off to discover a new beach in Falmouth. It turned into a bit of a bird watch, and here are some of my favourite photos from the day. With my beautiful sister's birthday coming up I knew I had to get my craft on to celebrate. I painted her rabbit for her, and here's the finished thing :) I was pretty happy with it since it's the first time I've painted in a year, and the second time since leaving my GCSEs 8 years ago. I'm starting to think this is something I would like to develop. 
I got into Guides this week to find the girls getting out recycled bags to fuse together into new objects - Although I was busy helping everyone with their designs, I managed to steal away a Waitrose bag to turn into an apron once I got back home :) 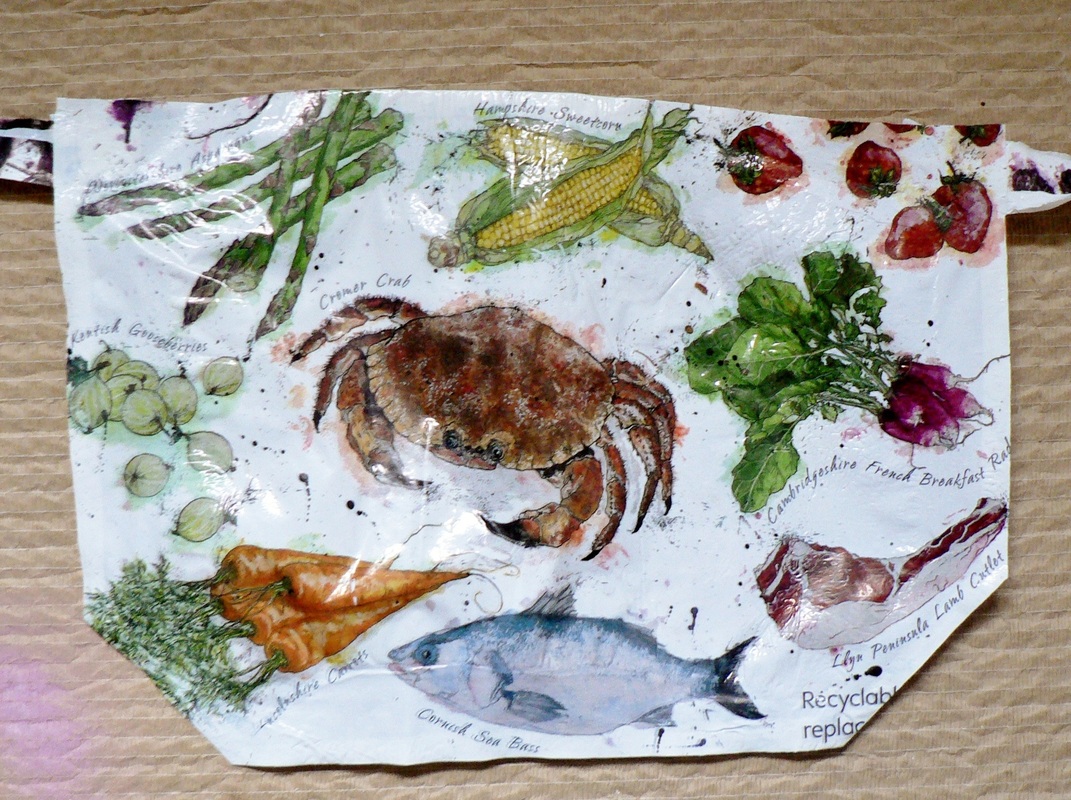 The best thing about working with plastic is that you can just iron down the seams, no stitches required! 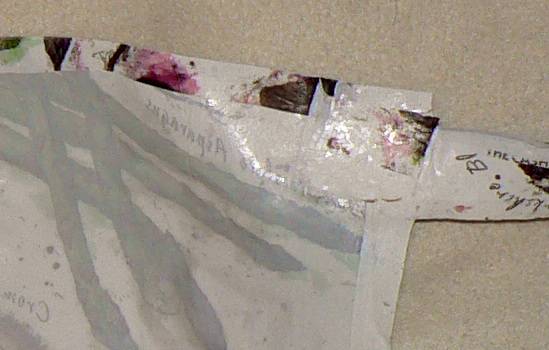 Slightly delayed week 3 photos: It's been a very, very, overcast week. Full of nervous excitement... 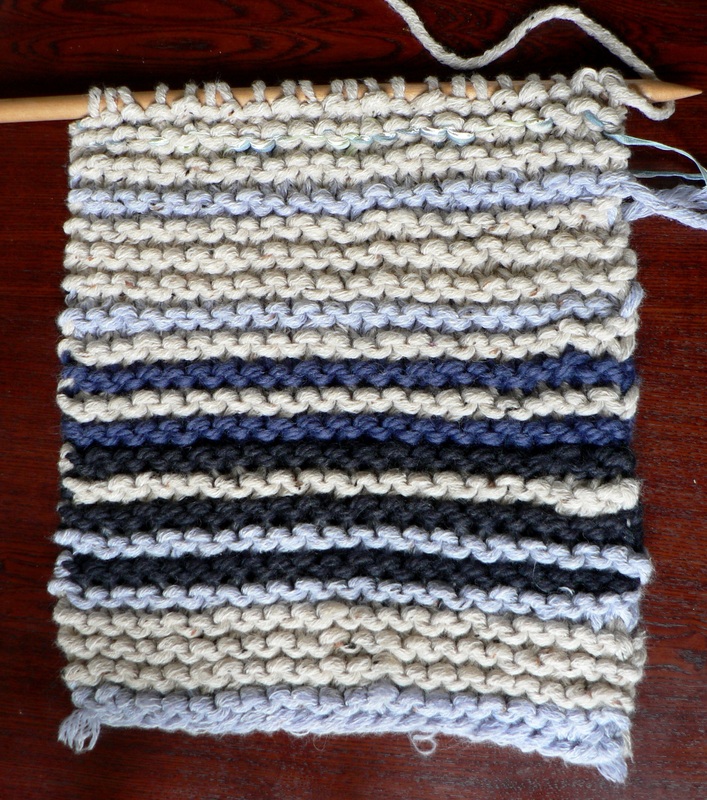 and one day of snow, which I have subtly paid homage to using some shiny ribbon I found stashed away in the corner of my fabric cupboard 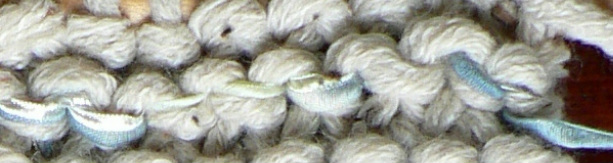 As for this week, I'm finding that I would very much like it to rain, which would reflect my mood much better than the blue I'm meant to knit this morning. I am feeling deflated, but the weather is tempting me to turn the compost. Perhaps things aren't so bad after all...
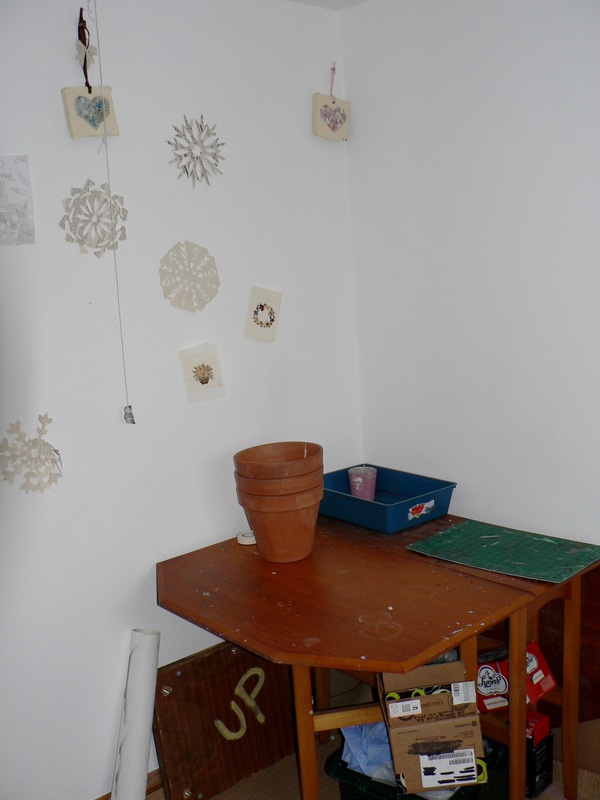
Welcome to the craft room - it's little but with great light, and the best damn decoration I've ever seen - hehe!
 I like to keep it nice and tidy - since it's so small! So I clear up after every finished project. No, really I do! It's just some things live under the desk! I have a trick to cleaning up - it's called a "Sort this all out later" box. - It's the top box on the pile. As things get messy, I just dump them all in there. When the box is full, it's time to properly clear everything away. Do you have any equally sneaky tricks to keeping your craft room tidy? You can also see my floor in this pic - it's an easy to clean carpet underlay upside down! 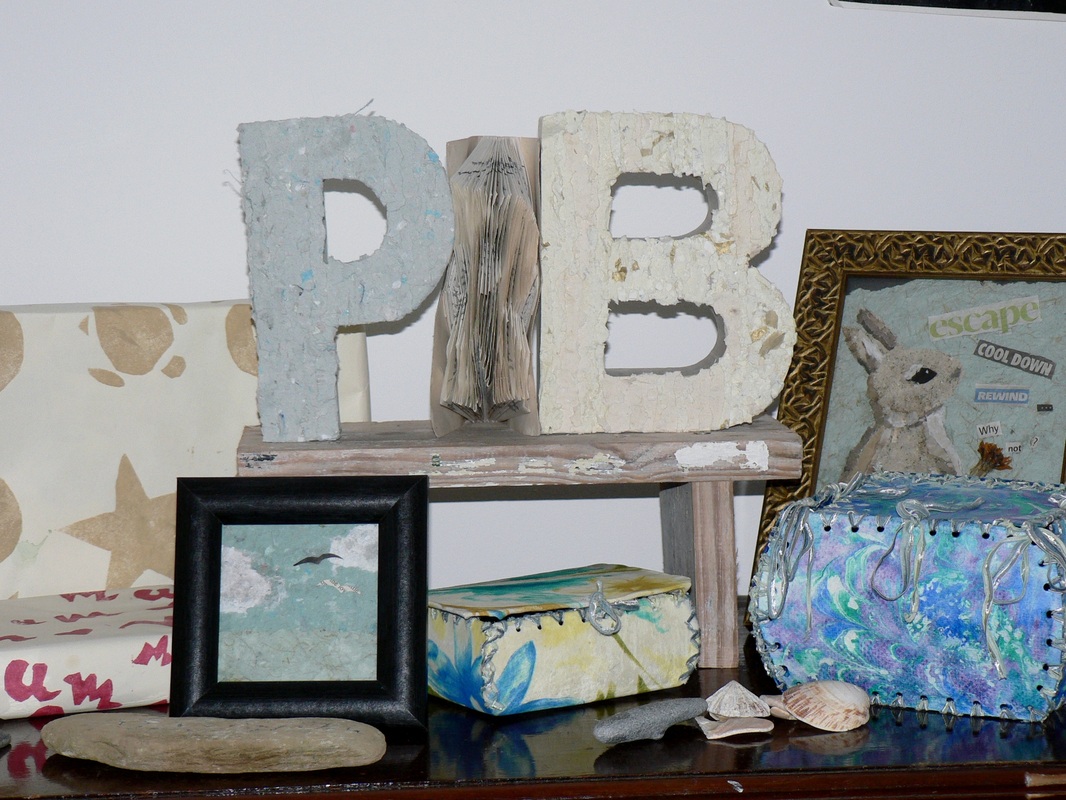
These are decorating the top of my gentleman's wardrobe (where I hide all my fabrics and tools!) You can see props for photographs, some simple collages. A couple of boxes I made, and some printed paper boxes. 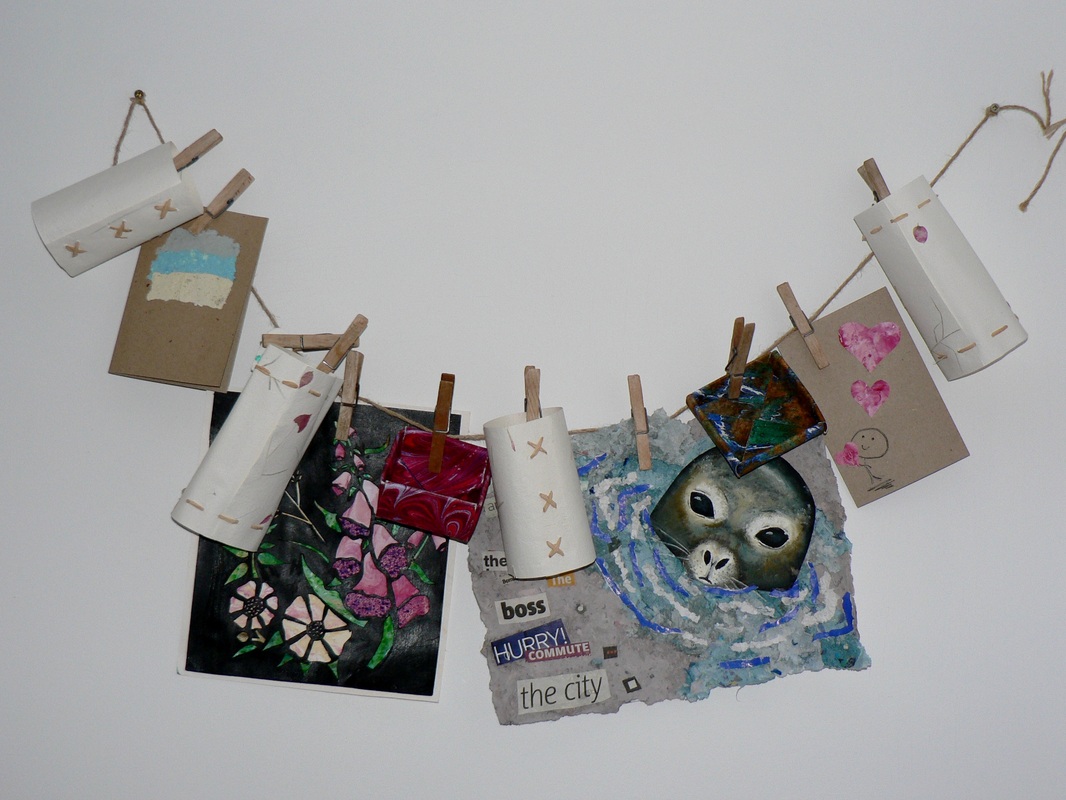
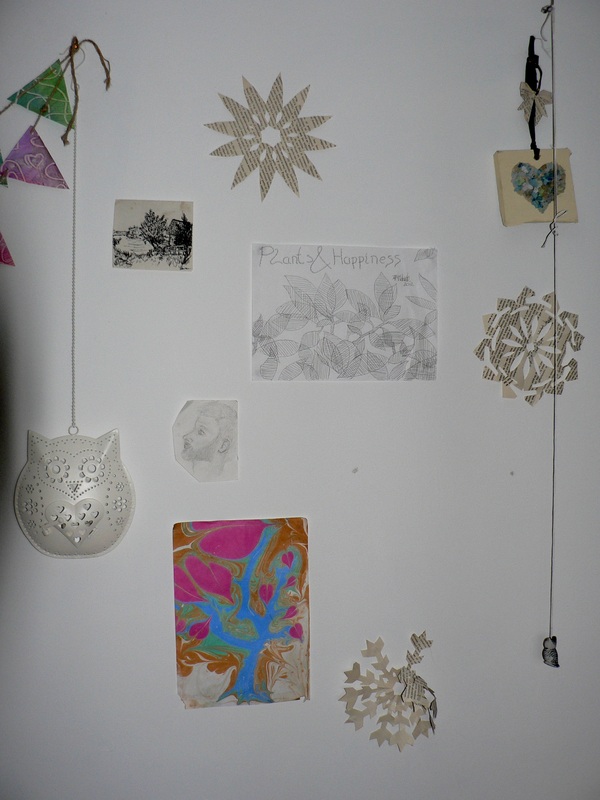
I also store my finisehd projects by hanging them up on the wall. You can see some ideas for cards, some paper marbling, tealight holders and collages. The flowers on the black background are actually a paper-cut design. I would like to take this further, but they take a LONG time to get just right! 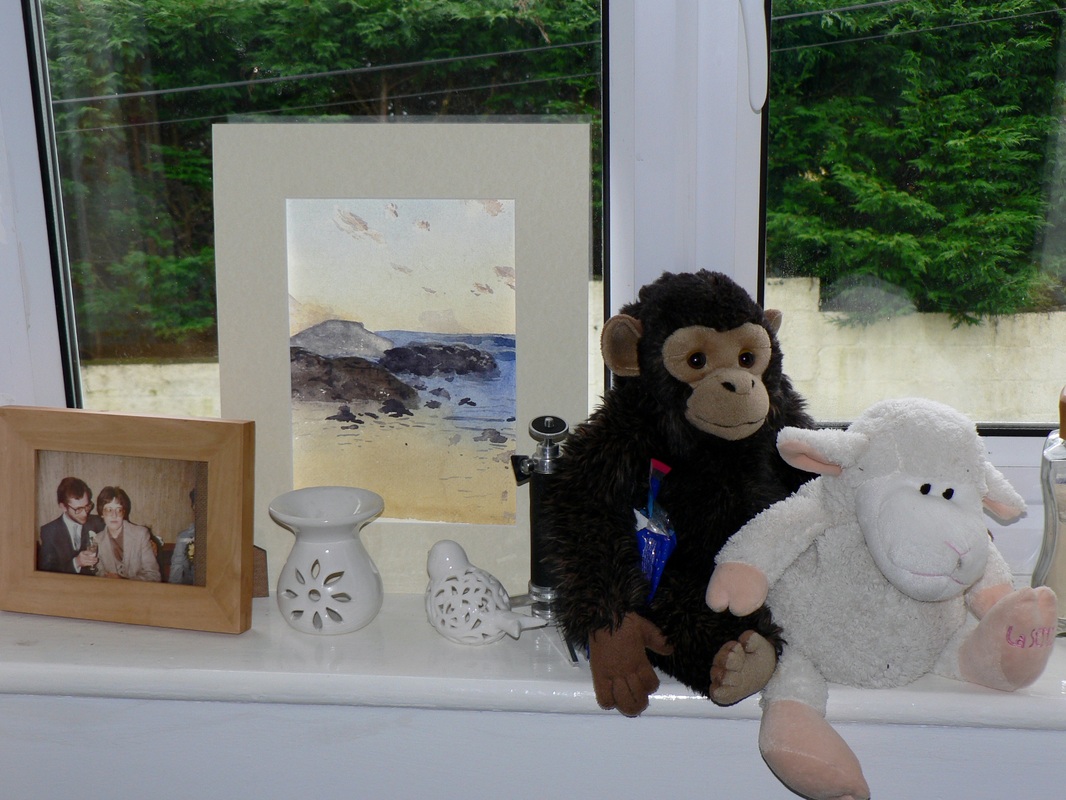
My windowsill - containing an old photo of my parents, my first watercolour painting (from last week), and my cute friends "Number 2" and "Lamby"
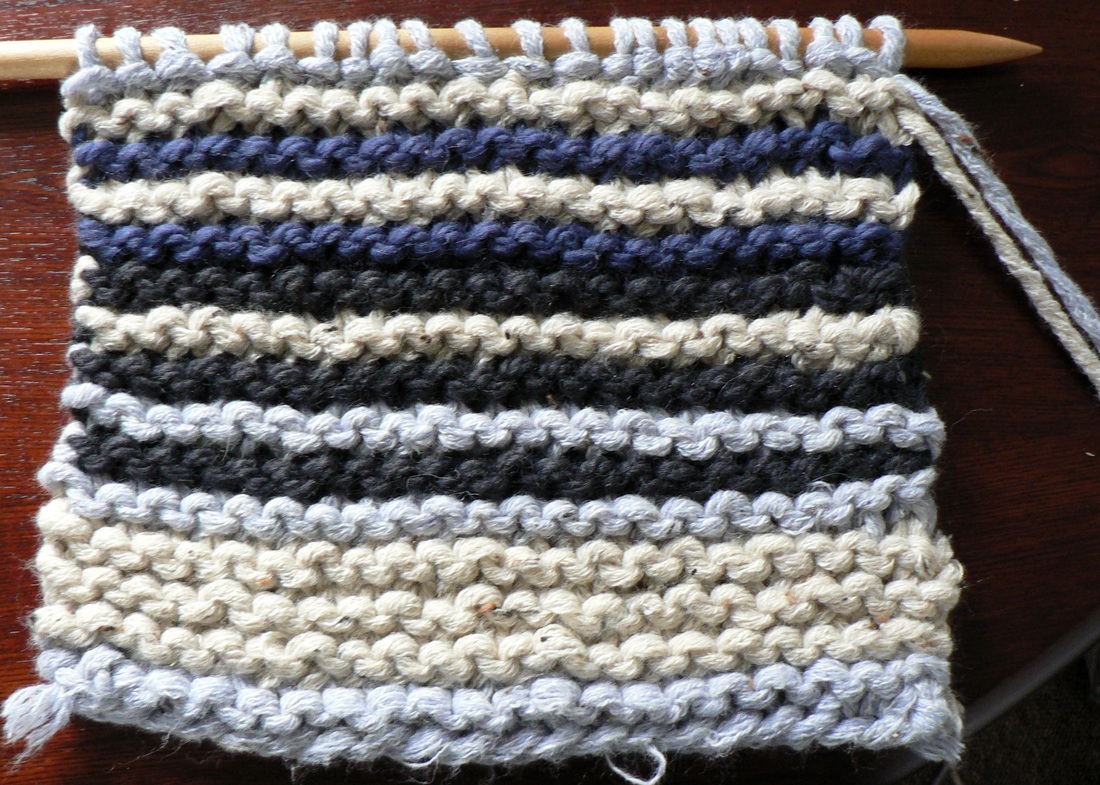
This week has seen a massive improvement in the Cornish sky - we've had two days of brilliant blue skies while the rest of the UK has had snow hehe! No two days in a row have been the same... but the pa
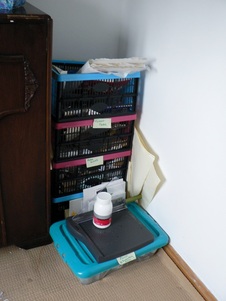
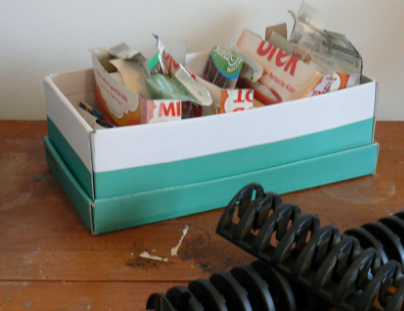
 January always feels like the perfect time for a spring clean. And perhaps it is - you still have time thanks to the holidays and you also have the resolution for it - "This year will be better/cleaner/happier/more organised". So we moved the rooms round, the dining room gained a snug area with sofa and bookcase, the living room took in the array of instruments we have, leaving the well lit (but small) music room for me to move my craft into. The craft room? Its now a laundry/office/spare room - clearing all our clutter away for now :) The upshot of all this is I ended up dismantling the top part of our office desk - complete with redundant CD rack. When I carefully placed (read: threw) these into the utility room they landed next to my disgusting shoe "seed store" - and a quick eyeball told me that they would fit inside perfectly. Goodbye old icky seed tray I don't want to look inside, hello garden inspiration...
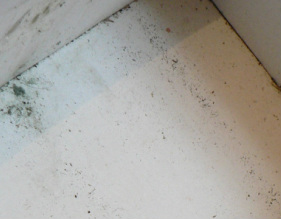
My first instinct was to chuck the shoebox entirely - it went mouldy! But, it was the only thing in the house into which the cd racks fit exactly, so I worked around this by fitting in a plastic lining made out of old shopping bags. I'll explain more about this another time, for now - a quick google should find you a tutorial.
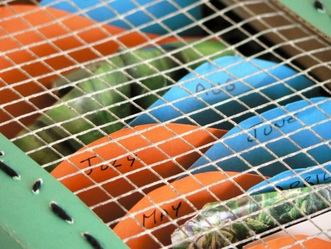
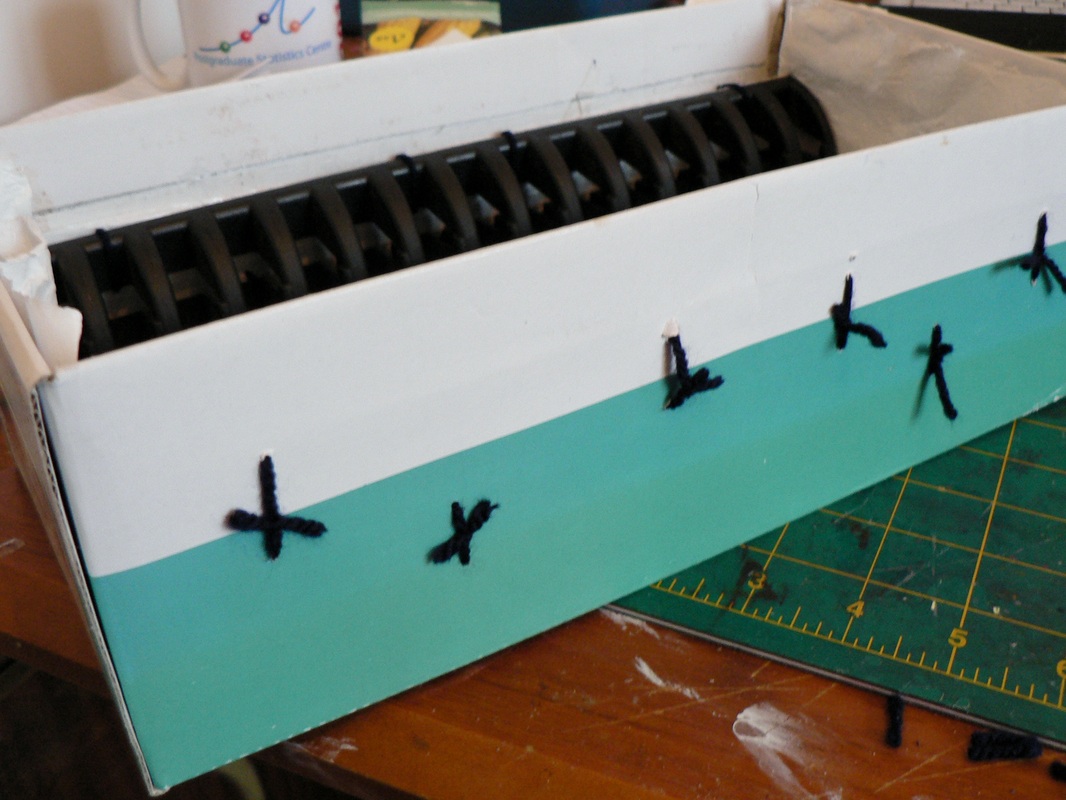
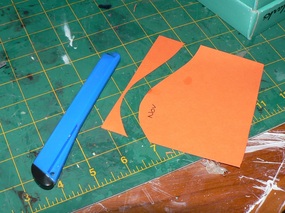
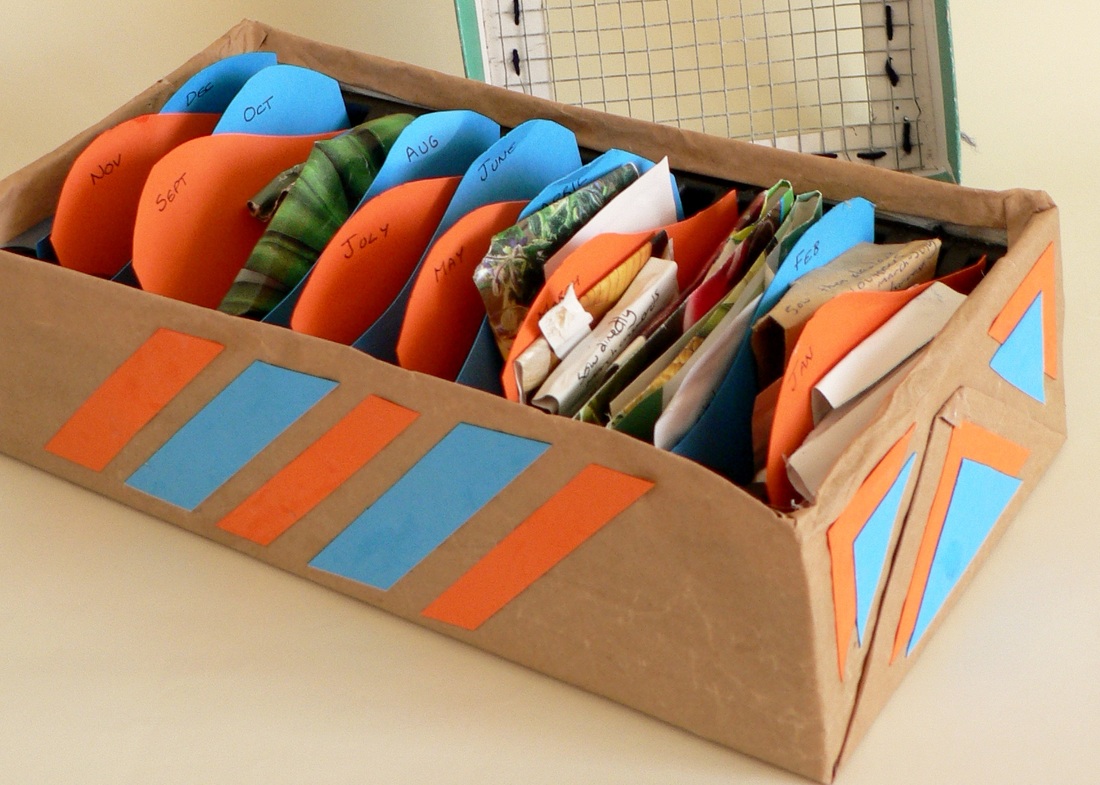
I stitched in the cd racks and plastic liner using thread I had bought for the garden notice board, and used my trusty (read: terrible) hot glue gun to finish off the seal round the edges of the liner.. I then used stashed card in bright colours to cut out dividers, and popped these into the cd rack - I left more space for busy planting months, like March, April and September. Cut the edges down so that the dividers are easily seen, cover with pretty paper and the left over card and you have and you're done :)
Or are you? What if you also saw some chicken wire the exact perfect size for a soil sieve? Wouldn't you make a multi-purpose lid?? I did! I measured out the chicken wire, cut out a slightly smaller rectangle (or I could have used triangles, circles - who knows) from the lid, and stitched in the wire. A project created entirely from stashed craft supplies - Do you like? 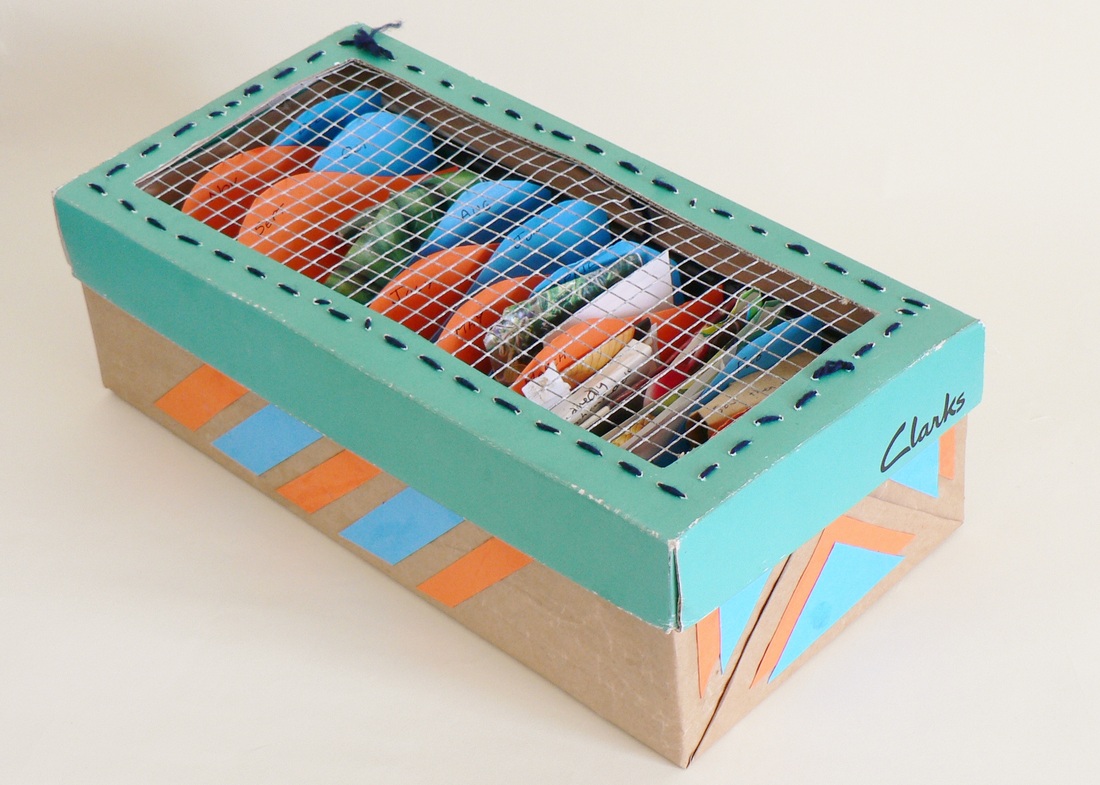
| AuthorPaperBeau is a crafter, gardener and artist from sunny Cornwall. This blog aims to provide inspiration, and craft/garden tutorials alongside meanderings into life here in Cornwall. ArchivesJune 2013 SubscribeCategoriesAll Lovely viewers |
 RSS Feed